
For iPhone and iPad
Files for laser engraving
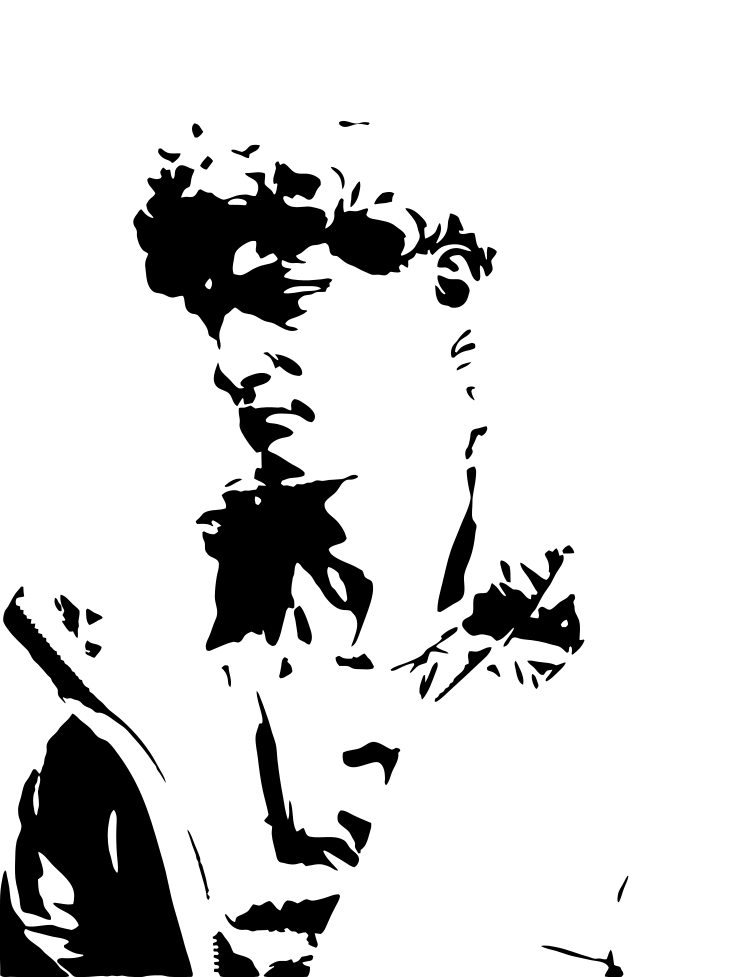
A laser engraves dark areas and skips light ones. Trace turns a photo into exactly that kind of image.
Scan with your iPhone or iPad camera to open the App Store.
Step by step
How to prepare a photo for laser engraving on iPhone and iPad
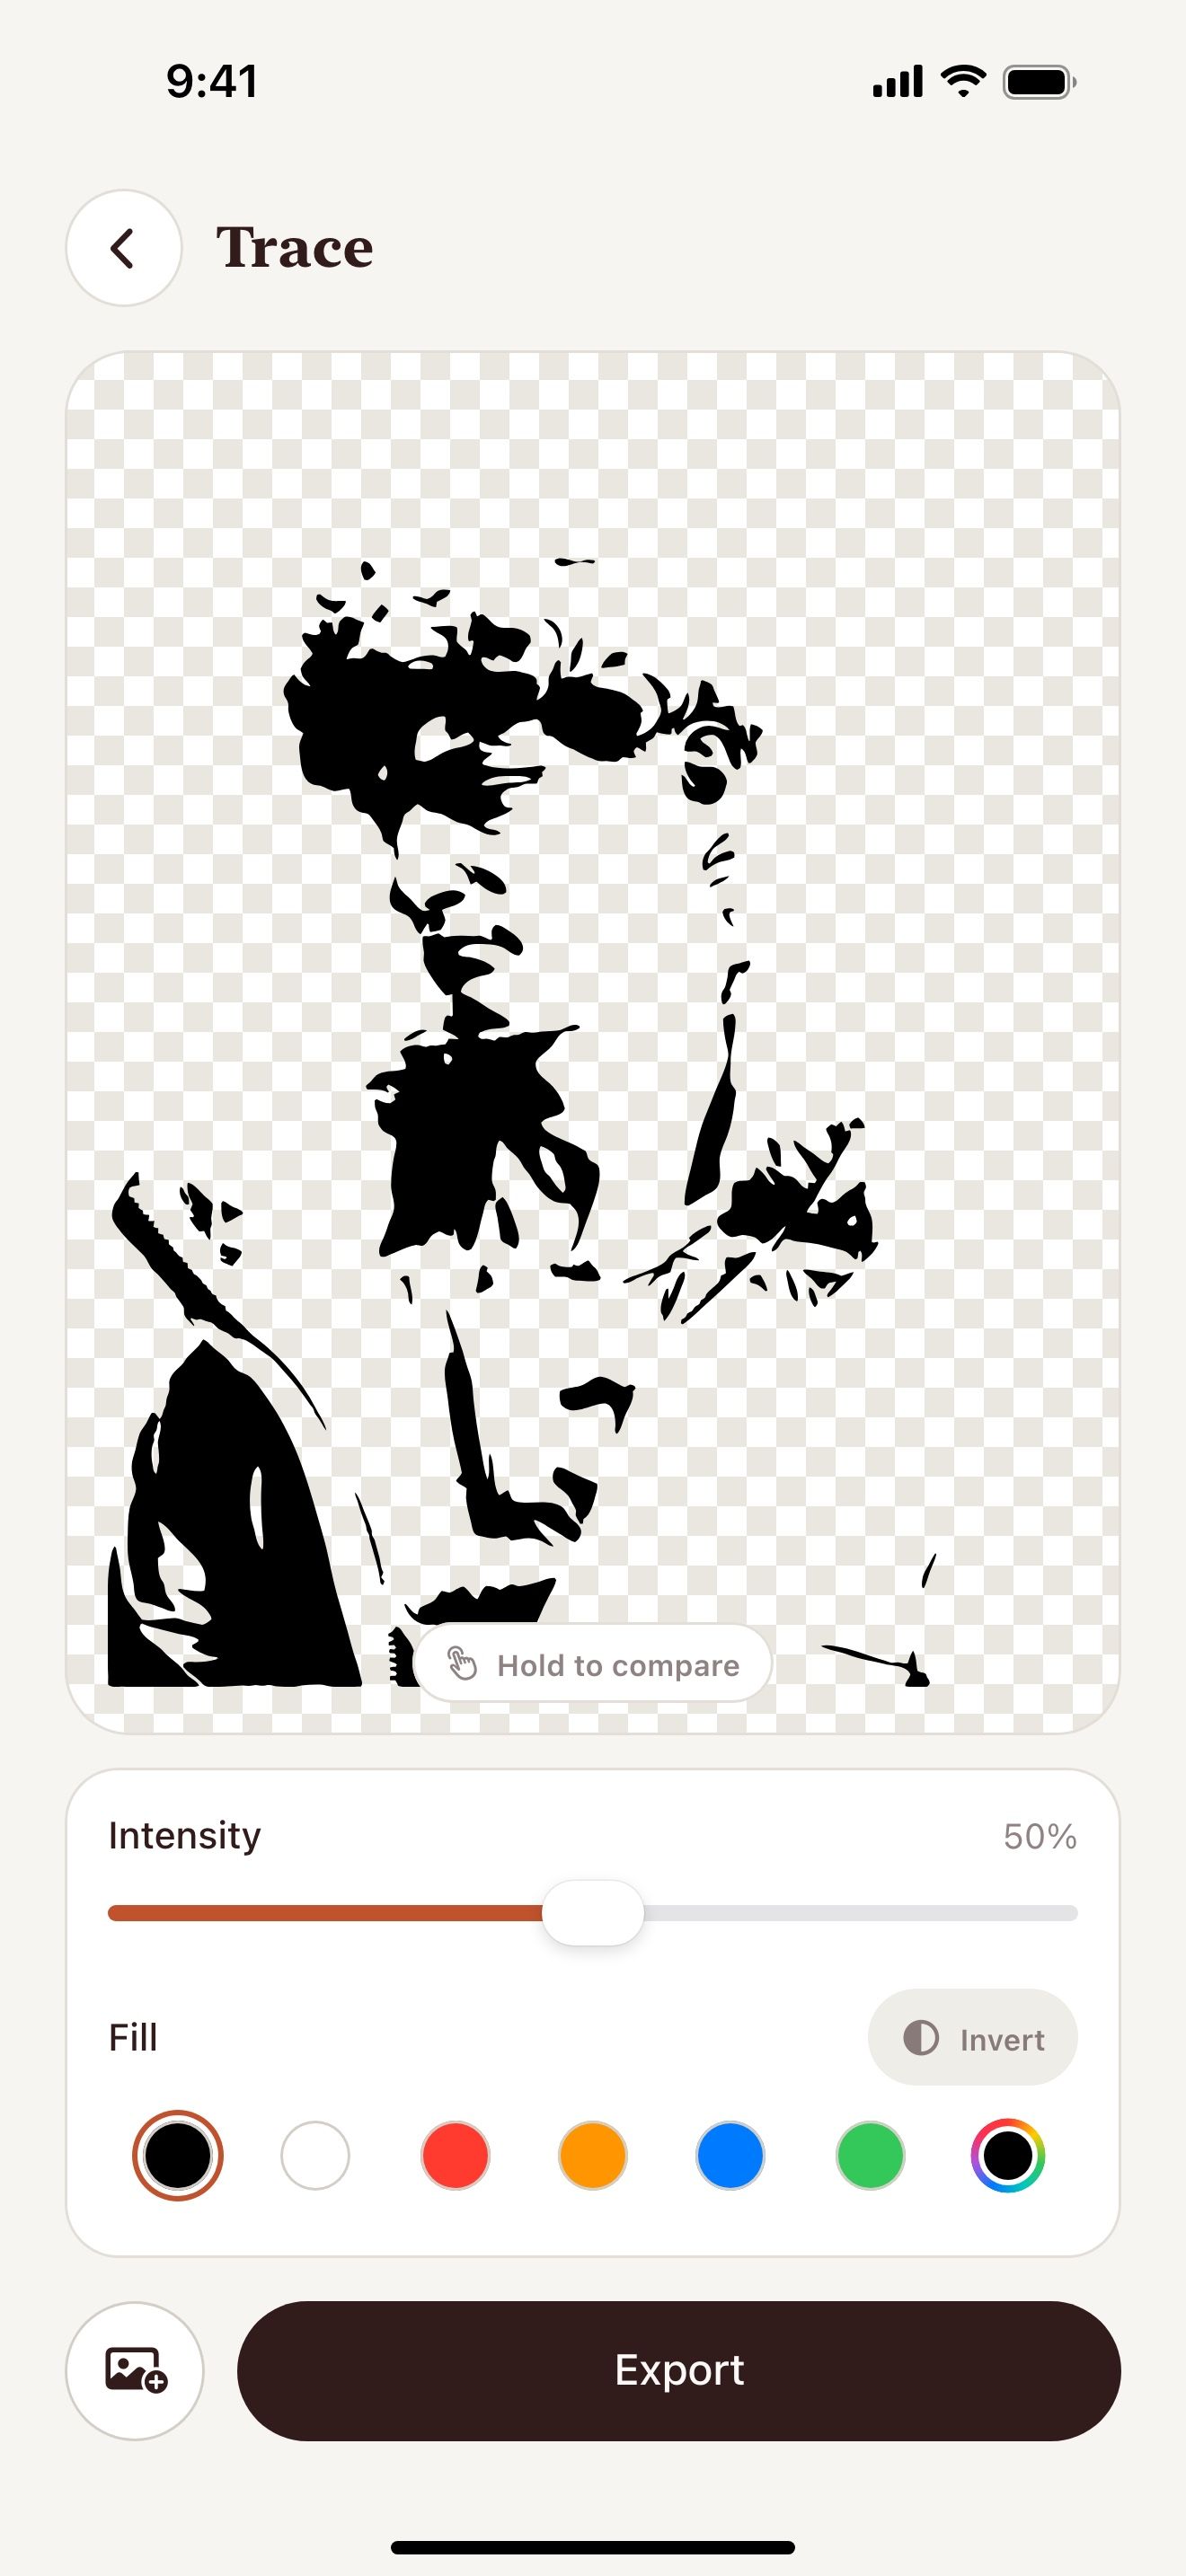
- Open Vectorize Image and tap Trace.
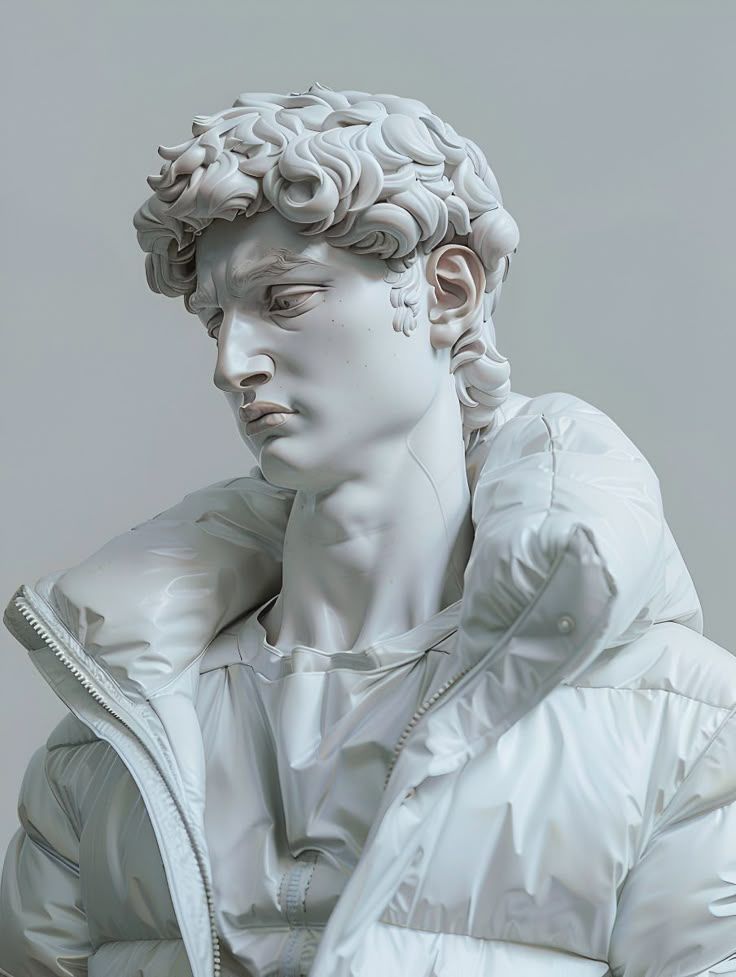
- Pick a photo with good contrast.
- Set the detail with the Intensity slider.
- Choose a black fill.
- Export SVG to cut or score. Export a 4× PNG to engrave.
- Open the file in your laser software.
What you get
Black and white only
One color means no gray tones. The laser engraves every area at the same depth.
SVG to cut
Laser software reads SVG paths as cut or score lines.
PNG up to 4096 px
A large PNG keeps fine details in raster engraving.
Free with no limit
You can trace as many photos as you want.
Tips for a clean result
- Test the file on scrap material first.
- Lower the intensity for wood with a strong grain.
- Raise the intensity for smooth materials that hold fine detail.
Questions and answers
Which laser software opens the files?
Glowforge, xTool Creative Space and LightBurn open SVG and PNG files.
Should I use SVG or PNG?
Use SVG to cut or score lines. Use PNG to engrave filled areas.
Can I engrave a pet photo?
Yes. Use a close-up photo with good light. Remove the background first.
Related pages
The tool for this task

For iPhone and iPad
Prepare your first engraving
Scan with your iPhone or iPad camera to open the App Store.