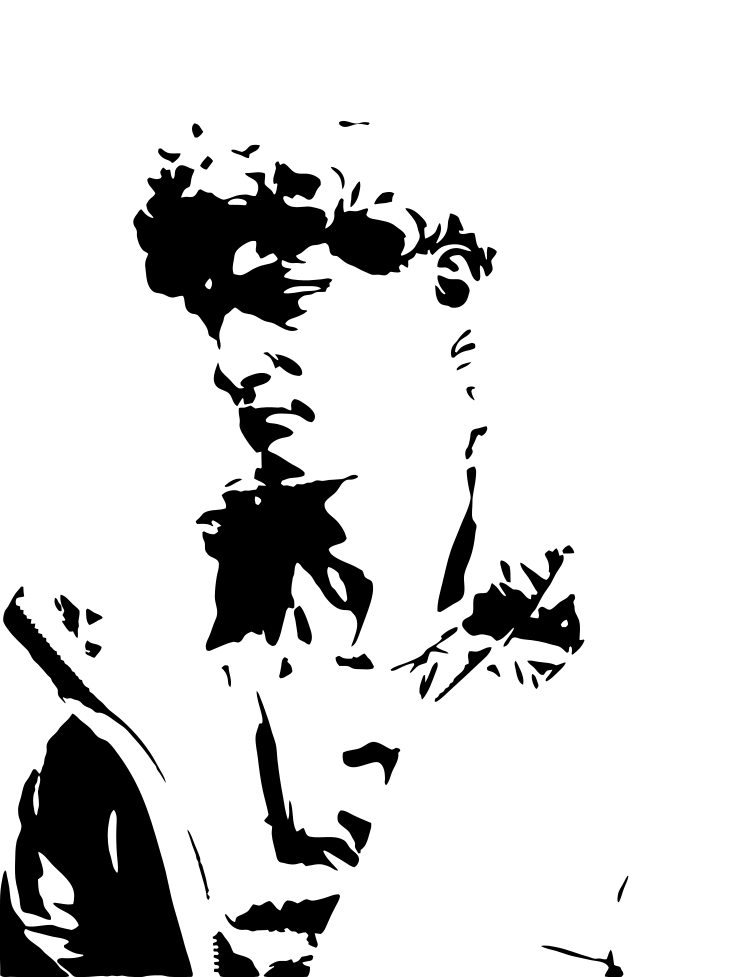
How to make a stencil from a photo
A good stencil has bold shapes in one color. This guide shows how to get them from any photo on iPhone or iPad.
Pick the right photo
The photo decides half of the result. Look for these signs:
- Strong light and shadow. Side light gives clear shapes on faces.
- Plain background. A busy background adds noise to the stencil.
- A large subject. The subject fills most of the frame.
If the background is busy, remove it first with Remove background. Then send the cutout to Trace in one tap.
Trace the photo
Open Vectorize Image and tap Trace. Pick the photo.
The Intensity slider sets the amount of detail:
- Low intensity keeps only the main shapes. Use it for spray paint and large wall stencils.
- High intensity keeps more details. Use it for small stencils cut by a machine.
The preview updates while you move the slider. Trace runs on your device, so it works offline.
Invert if needed
Tap Invert to swap the filled and empty areas. Choose the variant where the paint goes into the right places.
Fix the islands
An island is a closed area inside another shape. Examples are the centers of the letters O and A.
In a cut stencil, islands fall out. Add thin bridges to hold them. You can add bridges in Inkscape, Illustrator or Cricut Design Space.
Export
- To print and cut by hand: export a PNG at 4×.
- To cut on a machine: export SVG and upload it to the machine app.
The SVG scales to any size without blur. One file works for a small card and for a wall.
Material ideas
- Mylar and acetate for reusable stencils.
- Vinyl for one-time stencils on glass and walls.
- Cardstock for quick paper stencils.